


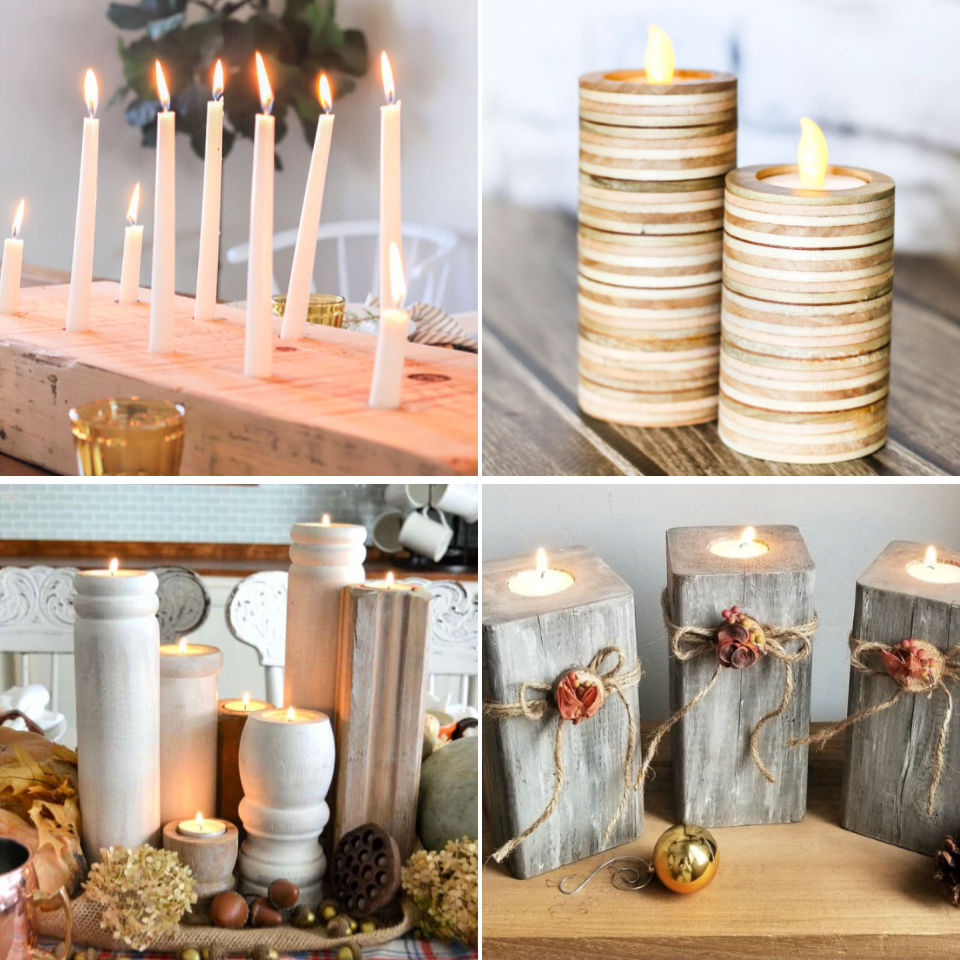
Craft a Stunning Candle Display with a Multi-Holder Wooden Candle Stand
Elevate your home décor with a captivating centerpiece â€" a multi-holder wooden candle stand. This DIY project allows you to unleash your creativity and design a unique piece that perfectly complements your style. Whether you prefer a rustic charm or a modern aesthetic, this guide will walk you through the process, step by step, to create a stunning candle display.
Gathering Your Supplies
Before you begin, gather the necessary materials. You'll need:
- Wooden board (thickness depends on the size of your candles and the desired height of the stand)
- Drill with various drill bits (including a bit slightly larger than your candle diameter)
- Sandpaper (various grits)
- Wood glue
- Wood stain or paint (optional)
- Clear sealant (optional)
- Candles (choose your preferred size and style)
- Measuring tape
- Pencil
- Safety glasses
- Dust mask
Designing Your Candle Stand
Visualize the layout of your candle stand. Consider the size of your candles, the desired number of holders, and the overall aesthetic you're aiming for. Sketch a simple design on paper to guide your work.
Determining the Placement of Candle Holders
Use your measuring tape and pencil to mark the exact locations for your candle holders on the wooden board. Ensure the spacing between each holder allows for sufficient air circulation and prevents overheating. You can experiment with different patterns â€" a symmetrical arrangement for a classic look or an asymmetrical design for a contemporary vibe.
Creating the Candle Holders
With the locations marked, use your drill to create holes for each candle. The holes should be slightly larger than the diameter of your candles to ensure a secure fit. To prevent splintering, use a drill bit that's slightly smaller than the final desired hole size and gradually increase the size until it's just big enough for your candles.
Assembling and Finishing Your Stand
Once the candle holders are drilled, sand the wooden board to smooth out any rough edges. Use sandpaper of varying grits, starting with a coarser grit to remove any imperfections and finishing with a finer grit for a smooth finish. You can choose to leave the wood in its natural state or enhance its look by applying a wood stain or paint. Apply a clear sealant to protect the wood and enhance its durability.
Adding Your Personal Touch
To personalize your candle stand further, consider adding decorative elements. You can create a rustic feel by adding reclaimed wood pieces, rustic metal accents, or even natural elements like moss or stones. For a contemporary vibe, opt for sleek metal pieces, glass accents, or geometric shapes. Let your imagination run wild and create a unique piece that reflects your style.
Lighting Your Candle Stand
With your wooden candle stand complete, it's time to enjoy its beauty. Place your chosen candles in the holders and light them up. The warm glow of the candles will beautifully illuminate the surrounding space and create a cozy and inviting atmosphere. Remember to exercise caution and always place the stand on a stable surface, away from flammable materials.
Creating a multi-holder wooden candle stand is a rewarding DIY project that allows you to personalize your décor and create a stunning centerpiece. Let your creativity guide you and enjoy the process of crafting a unique and beautiful piece that will enhance the ambiance of your home.

0 comments:
Post a Comment
Note: Only a member of this blog may post a comment.